DIY Lego Custom Stickers: A Step-by-Step Guide

Are you tired of using the same old Lego stickers that come with your sets? Do you want to add some personalization to your creations? Printing your own Lego custom stickers is a fun and easy way to take your Lego building to the next level. Here is a step-by-step guide on how to do it:
-
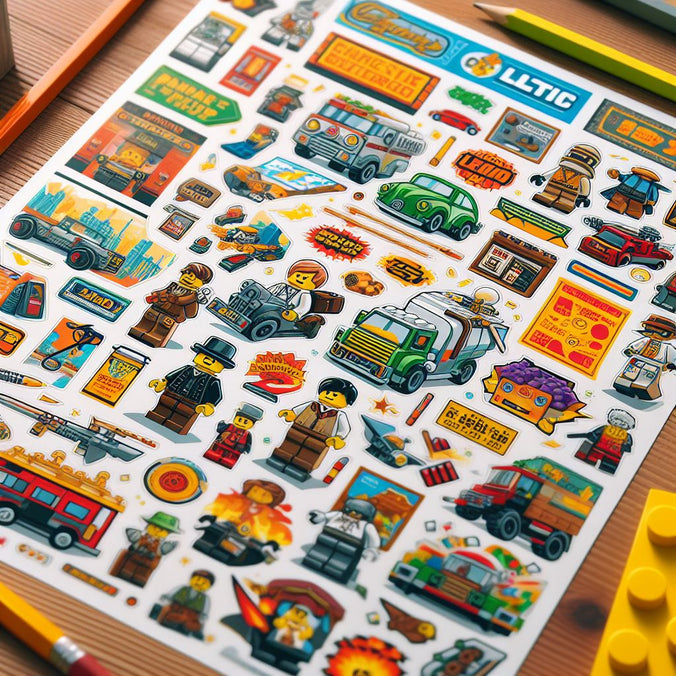
Design your stickers: The first step is to design your stickers using a graphic design software such as Adobe Photoshop, Adobe Illustrator or Canva. You can create your own designs or use pre-made templates available online. Make sure to save your designs as a PNG file with a transparent background. Some examples: https://tinyurl.com/mrddt3zn
-
Print your stickers: Once you have your designs ready, you can print them using a laser printer and clear sticker paper. Make sure to set the printer to print at the highest quality and choose the "clear" setting in the printer preferences.
-
Cut out the stickers: Use a pair of scissors or a craft knife to carefully cut out your stickers. You can use a ruler or a cutting mat to ensure straight lines.
-
Apply the stickers: To apply your custom stickers, you can either use a clear tape or a glue stick. If you are using a clear tape, make sure to smooth out any air bubbles to avoid any creases. If you are using a glue stick, be careful not to apply too much glue as it may cause the sticker to wrinkle or peel off.
-
Enjoy your creations: Once you have applied your custom stickers, you can start building and showcasing your personalized Lego creations. You can even share them online with the hashtag #legocustomstickers.
Printing your own Lego custom stickers is a fun and creative way to add a personal touch to your Lego creations. It's also a great activity to do with kids or as a team building activity with friends. So go ahead, let your creativity shine and start printing your own custom stickers today!

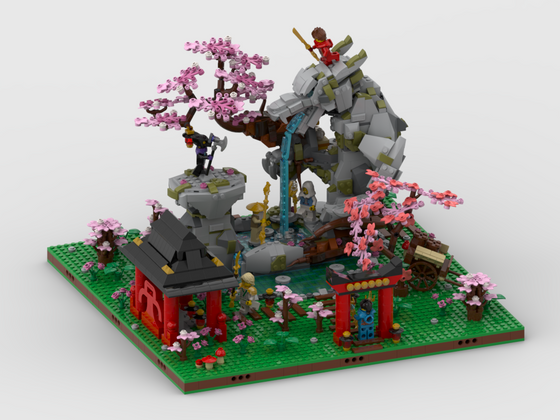
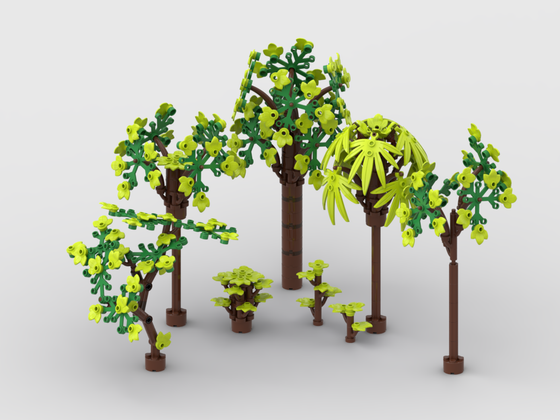
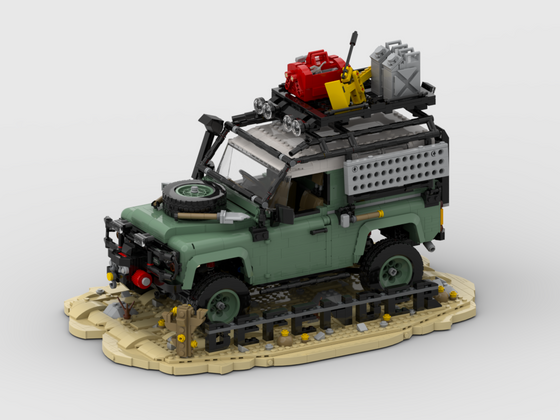
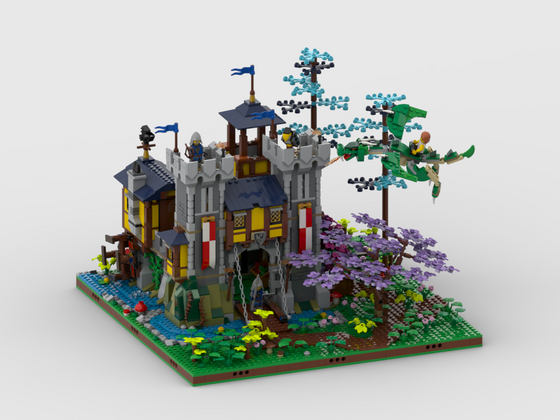
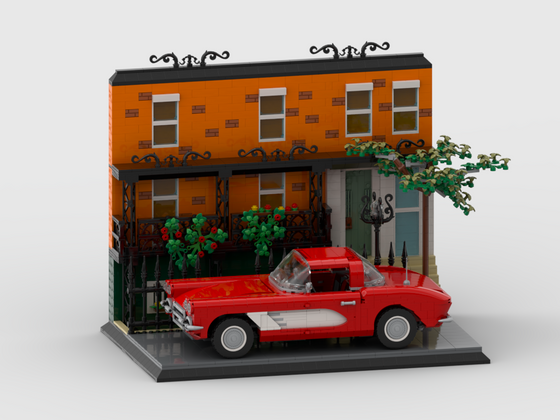
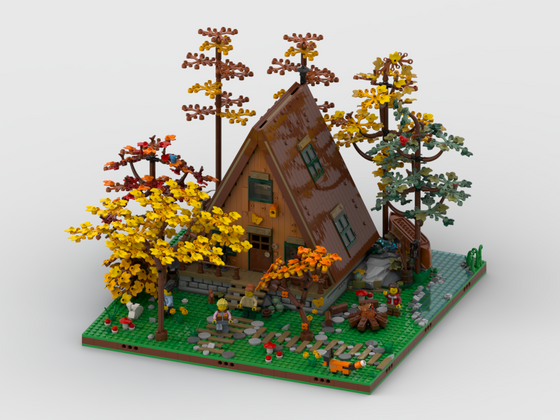
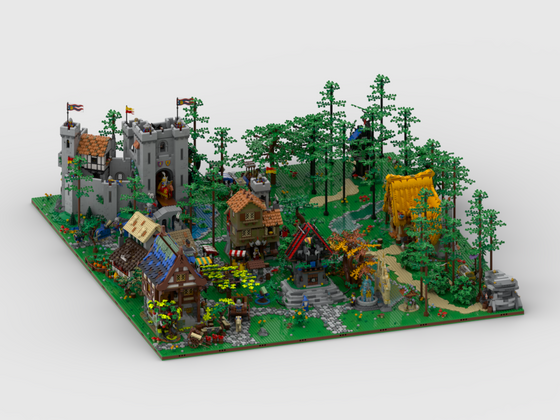
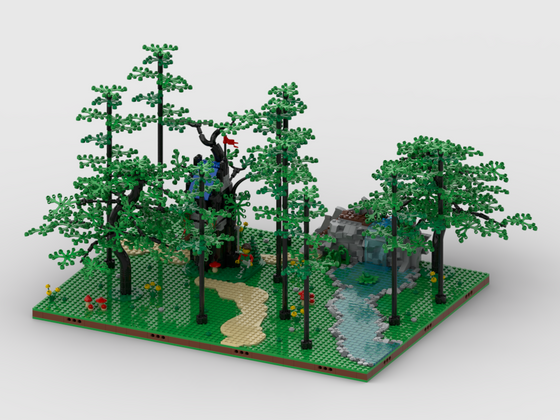
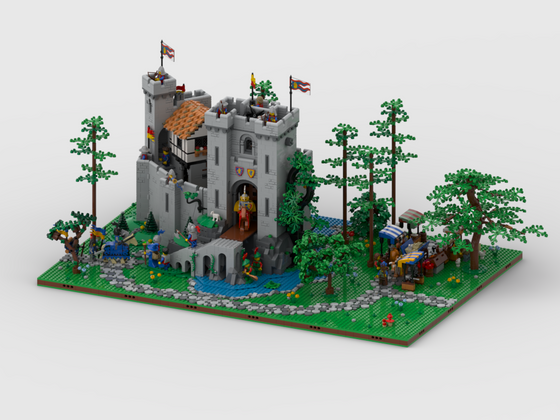
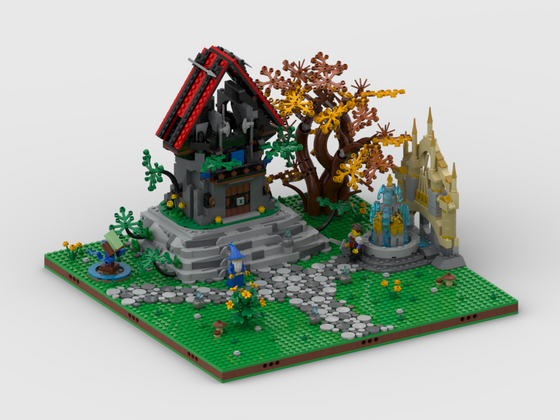
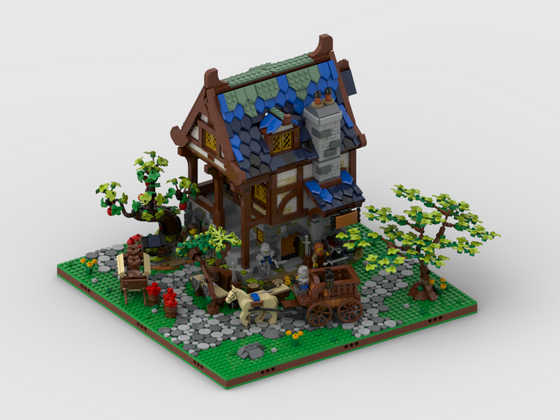
Newest MOCs

Related Posts

Leave A Reply
Your email address will not be published. Required fields are marked *